That’s What We Do at RADWAG Measurement Laboratory: Calibration of Mass Standards

We wrote about what the calibration of non-automatic electronic balances is and how we do it at the accredited RADWAG Measurement Laboratory in this article. In this one, we will focus on the procedure for calibration of mass standards.
What does calibration of mass standards consist of?

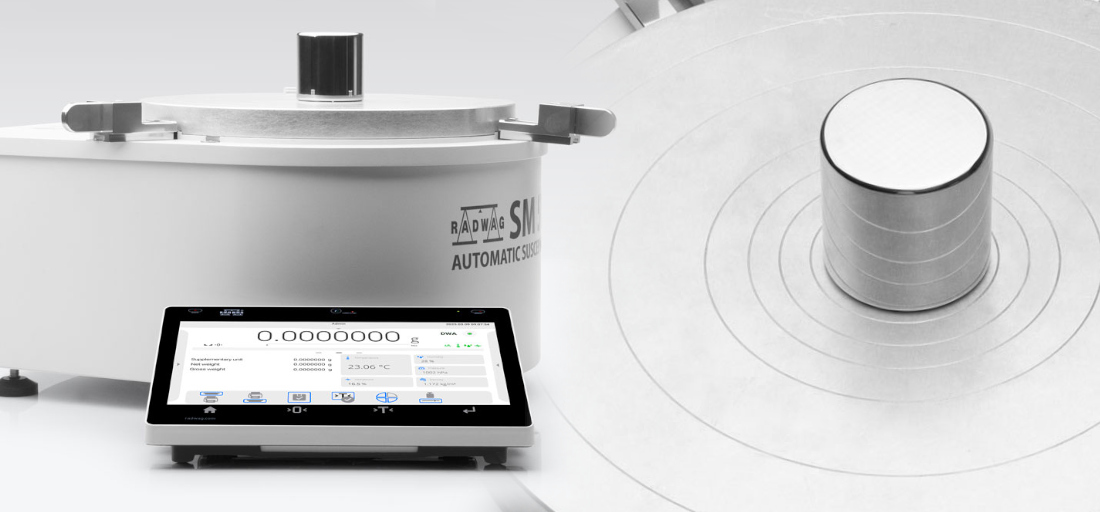
Calibration of mass standards involves determining their mass by comparison of the mass of the test mass standard with a reference standard.
Mass standards have different classes of accuracy: from the most accurate E1, through the less accurate E2, F1, F2 and M1, to the least accurate M2. We compare the mass of the mass standard under test (for example, F2) with that of a higher accuracy class standard (F1).
Mass standards of lower accuracy classes, that is, F1, F2, and M1 and M2, may have an adjacency cavity that allows them to be disentangled and increasing or decreasing mass with a reference material.
Not all mass standards are shaped like weights. In the higher classes, there are also wires, sheets, and cylinders. In the lower ones, there are cylindrical and rectangular (both with handles), cylindrical with eyelet, carrier, and slotted mass standards.
RADWAG Measurement Laboratory calibrates mass standards in accordance with the OIML R-111 standard.
What is the adiustation of mass standards?
Adjudication of a mass standard is aimed at bringing its mass to be within the permissible error value specified for a given accuracy class. When this is not possible, such a standard can be reclassified (lowered its accuracy class) or such information can be taken into account when making measurements.


